![BryteLogo_flat_light-1.png]](https://kb.bryte.com/hs-fs/hubfs/BryteLogo_flat_light-1.png?height=50&name=BryteLogo_flat_light-1.png)
What you will need:
- Mobile device (Android or iOS) that has the Bryte Balance mobile app installed
-
You can download the app via these links based on your device type:
-
- Connection to the Internet. Please note that the system supports only WPA2-PSK WiFi networks.
- Bryte bed plugged in
Step 1: Ensure the bed is running
Using the Bryte Balance mobile app, create an account. Once created, do not progress through the flow to set up a bed. Instead, force quit the app and email your user id email to hello@bryte.com.
Bryte will enable the extended permissions and confirm, via the email, that it is ready.
Step 2: Re-launch the app
Once you receive notification, open the Bryte app and tap on the 'Settings' menu (gear icon).
Step 3: Select Hospitality
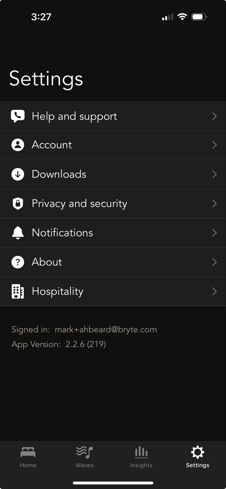
If you do not see 'hospitality' as an option, force quit and return back to this screen. If the row is still not appearing, go to the “Account” setting and be sure you are logged in under the email you supplied to Bryte in step 1. If all is correct and the Hospitality row continues to not appear, please email hello@bryte.com to correct.
Step 4: Select Hospitality -> Bed installation verification -> Verify bed is running
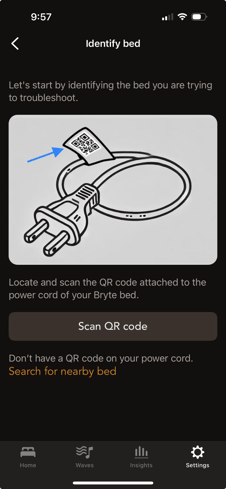
This will take you to the “Identify bed” screen.
Tap the “Scan QR code “ button. Scan the 2D barcode on the label that is attached to the power cable coming from the bed.
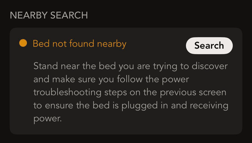
If the bed is running, in the “NEARBY SEARCH” section of the screen the app will display a widget indicating that the bed has been found nearby.

If the bed is not running the app will indicate that the bed cannot be found with instructions on next steps.
Step 5: Connect the bed to the cloud
Once you confirm the bed is running, go back to the Settings screen and tap on Hospitality -> select US
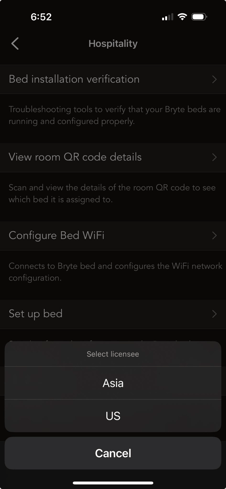
Step 6: Select Set up bed from the Hospitality screen
From this screen, tap Continue.

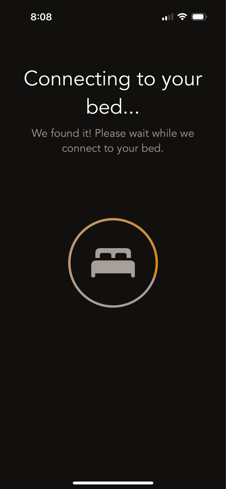
Step 7: Wait for setup
The app will begin searching for running beds. If just one bed is available to be connected to the app will immediately begin the connection process.

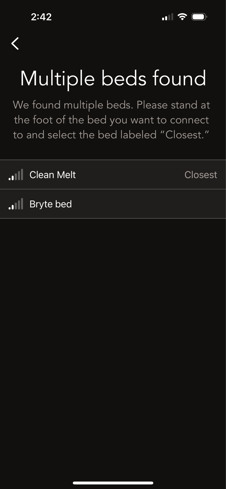
If more than one bed is present, the app will present a list of available beds with an indicator of which is the closest. Select the bed you would like to set up and the app will kick off the connection process.
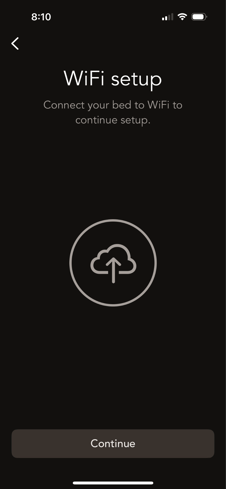
If the bed is not already connected to a WiFi network, you will be asked to configure one. Please note that the system supports only WPA2-PSK WiFi networks.
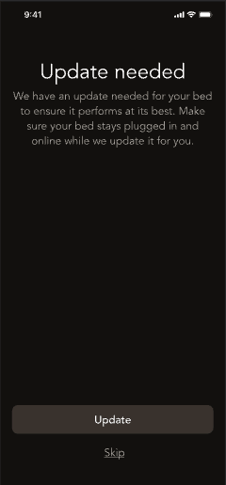
If your bed is found to be running out of date software, you will be asked to update the firmware. You have the option to skip this step – it will update automatically later as long as the bed continues to have a connection to the internet.
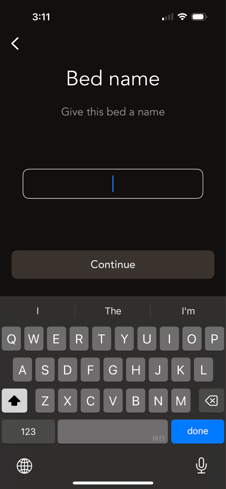
Step 8: Name the bed
When there are multiple beds in one hotel or vacation property, it's helpful to name the bed as an association to which room it is in, eg. Primary bedroom or downstairs east bedroom.
Step 9: Complete
If you have multiple beds, move on to the next one until you have configured all beds in the property.
If you have any issues or questions, please either email Bryte at hello@bryte.com or call/text us at +1 844 420 1018.